
Add Tables to Your Designs
A handy new feature is in: TABLES!
Tables are everything you need to make your huge pile of information attractive to the audience. It also makes the creation of schedules easier (we’re looking at you, music bands).
In this blog post, we’ll give you a concise tutorial on how to use tables in your PosterMyWall designs. Let’s start by opening your template in the poster maker.

Once you’re there, you will notice a new Layout button below the Text button. Click the Add Table Button and you’ll see a dialog like so:

You will notice a series of icons on the far-right column, but do not be overwhelmed. Each one has a specific function. Starting from left to right, here is what each icon does.

- Star: It allows you to highlight a row. You can highlight multiple rows. Highlighted rows can have different colors.
- Plus: Creates a copy of the row.
- Trashcan: Deletes the row.
- Up arrow: Moves the row one row up.
- Down arrow: Moves the row one row down.
You may have also noticed these 2 icons on each column.

The trash can icon allows you to remove a column, and the plus icon adds a column.
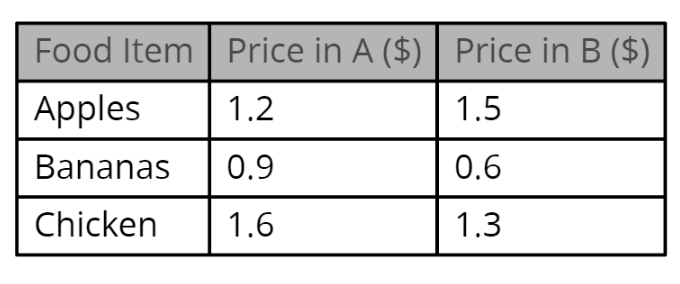
Here’s an example of a table, inside the editing interface:

And now here’s an example of a table in your design:

That’s it for (creating) the table itself. But there is a lot more you can do to make the table more aesthetically pleasing. Check it out:
Change Layout Styles

You can set the color and opacity of the background (or non-highlighted region) or check 2 other background types but more on that later). You can also set borders and change their size and look.
Backgrounds
Backgrounds come in 3 types, which are Transparent, Color and Alternate. See the examples below:
Transparent
Color

You can set the colors and opacity of the background.
Alternate

Alternating rows follow a different color scheme. You can set the color and opacity for each.
Borders
Borders come in 2 styles, square and rounded. You can also choose to not add border, though border is absent by default. Here’s an example of a table without a border.

Spacing
- Horizontal Spacing changes the length of your table.
- Vertical Spacing changes the width of your table.
Highlighted Items
Quick recap: Inside the table edit interface, you remember clicking the star, which creates the highlighted row. You can also set the color, opacity and text color for the highlighted rows.

Text Styles

Set the font and size of your text through text styles. Fonts you set here will be applied to both highlighted and non-highlighted rows. You can also choose to add your own fonts. Click here to learn more about uploading fonts.
And here ends our feature highlight for tables. You can start using tables right away by clicking here.


